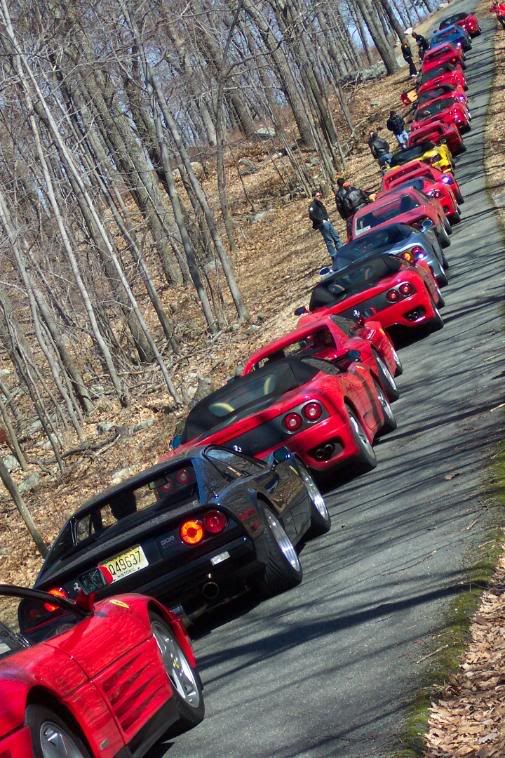
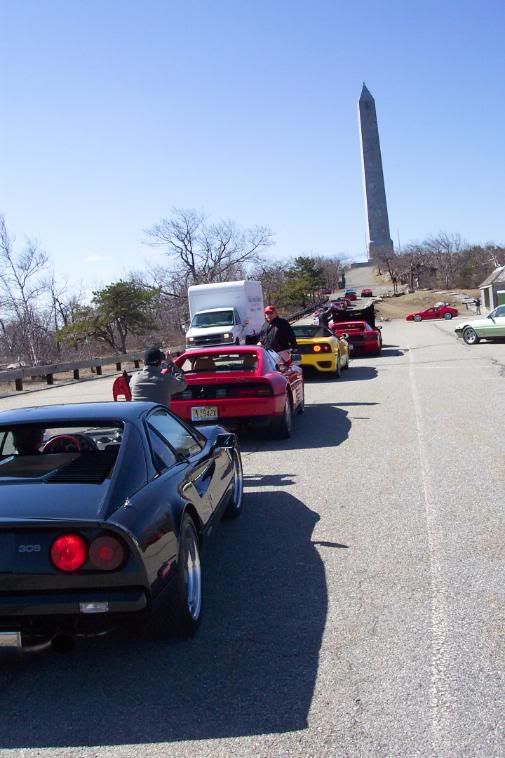
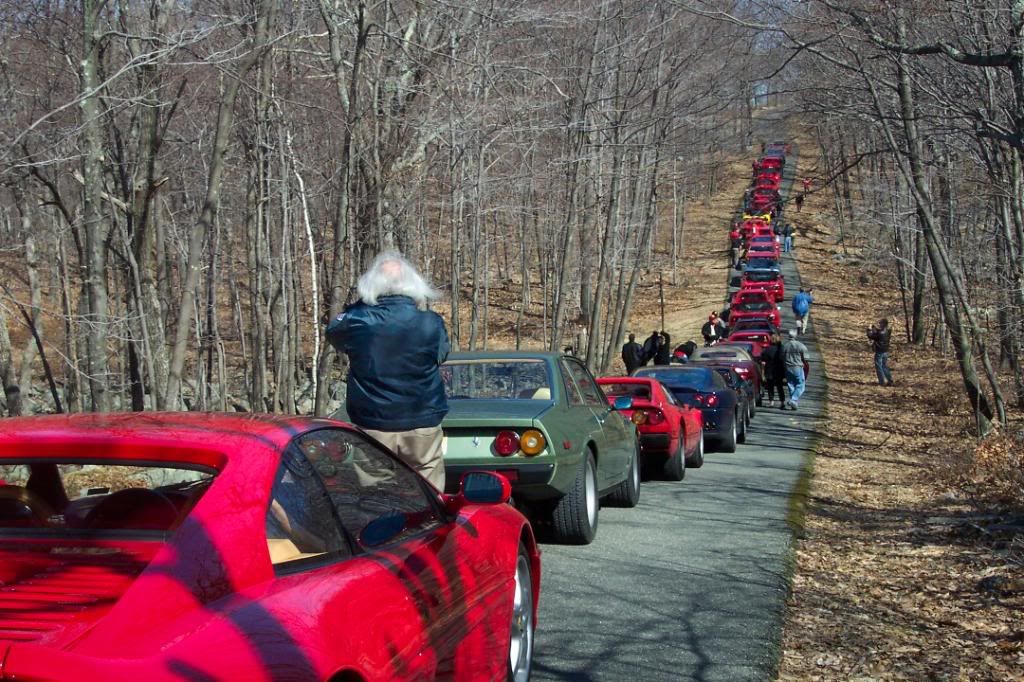
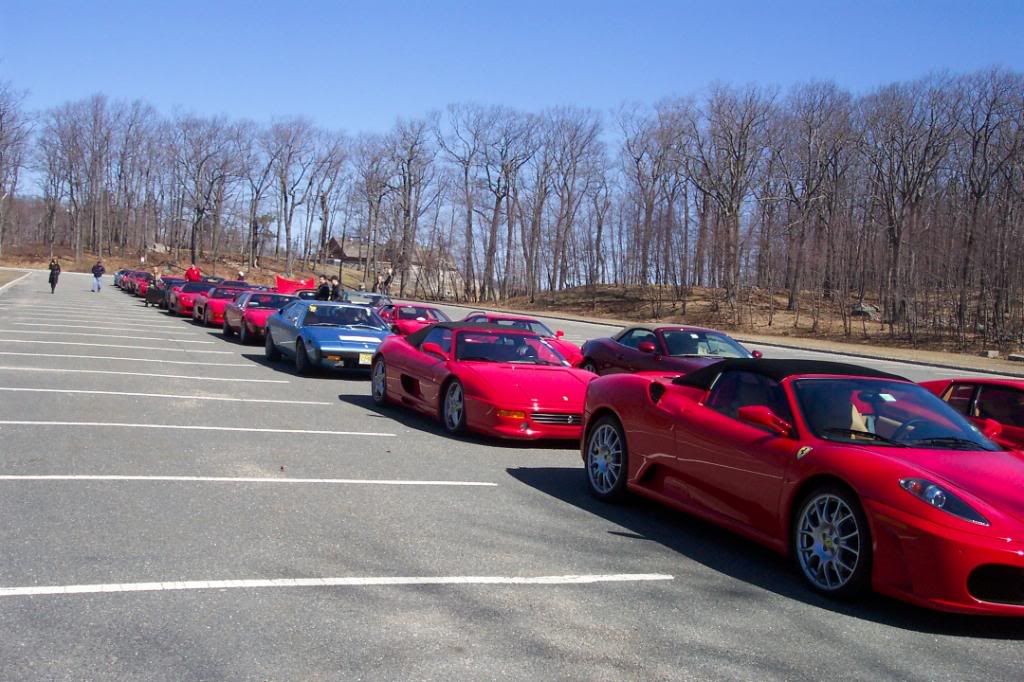
2008 Belle Macchine d'Italia at Pocono. Check out this blog for an interesting write up and veeerry nice photos of this year's event.




The DB2 is green! Having color on the car is obviously a huge milestone in any project. Now we can see the result of all that preparation.
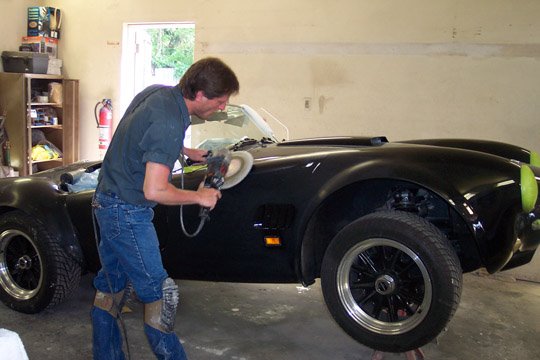
The body has already been color-sanded. The final grade of sandpaper used is 2500 (that means 2,500 ‘grits’ per square inch’) but then the paper gets turned over. Yeah, the backside of the paper is used to start the polishing process. You might laugh but it really makes a difference in the ease with which the paint buffs up. And by the way, the careful technique that was used earlier while blocking the primer flat still applies even though the sandpaper being used is so much finer. Many good paint jobs have been ruined by careless color sanding.
Compounding (the color sanding scratches are removed) is followed by polishing (the fine haze or, ‘swirl marks’ left by the compound are removed) and the result is a deep, sharp shine.
Why is so much time, money and attention given to wave-free body work and perfectly level, shiny paint? It’s only when the surface of the paint is free from waviness and the defect known as ‘orange-peel’ that the lines and curves of the car can be fully seen and appreciated.
So even an admittedly dated design such as the DB2 looks striking when you stand back and see the way the lines and curves flow and blend.
We still have to paint the firewall and chassis before we can start reassembling.

More on the Aston Martin DB2
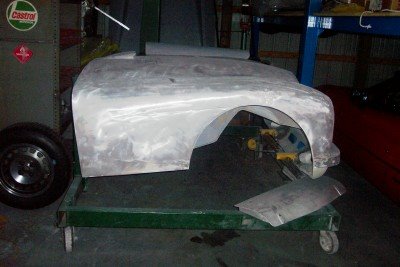
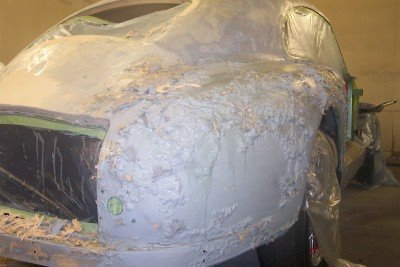
The DB2 is nearing the end of the body work phase. We removed the finish and the underlying filler to bare aluminum. We fabricated new panels to replace parts that were beyond repair. Spray polyester was applied and block-sanded to achieve a wave-free surface.
The bonnet was particularly time-consuming. This is a large, complex piece that hinges at the front to reveal the entire engine and front suspension. It was necessary to fabricate components of the mounts and hinges for both cosmetic and structural reasons. This led to countless installations and removals to confirm fit. Adding to the critical nature of the bonnet is the fact that the inside surface is completely visible to scrutiny when open.
The original color was a rather weak metallic green. The new finish will be British Racing Green. BRG, as it is called, does not represent a specific paint formula. While many manufacturers offered a color by that name, Aston’s version was not identical to that of Jaguar or Triumph or MG. Anyway, this car is going to look stunning in this deep green color.
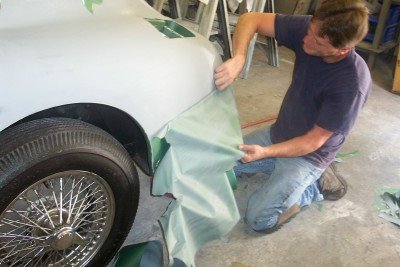
About the original finish, or I should say, the finish we removed as part of this project; the paint was shiny enough, but as you can see in the picture where the green is being removed in sheets, not well-applied. This appears to me to be the result of sanding the primer with too fine a grade of sandpaper prior to painting. The result is that the topcoats have nothing to grip to and over time this finish would have failed prematurely.


Pantera progress
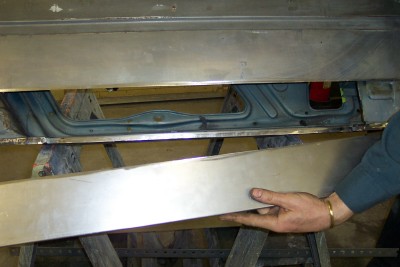
We have made considerable progress on the Pantera. New fenders, door skins, rocker panels and quarter panels have been fitted. It might seem like it should be a simple job installing all this new sheet metal. If this were a mass-produced car it would be a relatively easy task. The first fender that GM produced for, say the ’69 Camaro, was for practical purposes identical to number 10,000. Not so for the Pantera or any other hand-built exotic.
I never actually saw any of those Italian craftsmen building these cars. I have to imagine that Luigi’s fenders were maybe just a little different than Giuseppe’s. Enough so, so that one is not interchangeable with the other. Not at least without a little, or a lot of, massaging.
So it’s a matter of install, check fit, remove, adjust, install. Repeat this until everything lines up and gaps around the doors, hood and engine cover are uniform. The panels get held together with small sheet metal screws or preferably (and if space allows) we use clamping devices called ‘Clecos’. These are ingenious tools developed for the aviation repair industry that permit the technician to repeatedly remove and install panels without having to deal with a bunch of small screws.
When we are happy with the fit of the panels the welding begins. For the most part, MIG welding is used to attach the panels to the underbody. Where the outer surface of panels join, like where the front of the fenders meet the valance panel, gas-welding will be used.
The welds get ground down and cleaned-up. This is an important step because primer will not stick to weld ‘scale’. We took the time to media-blast almost the entire underside if the car. (If you recall, this car had been dipped to remove the old finish, along with undercoating, seam sealer and rust.) We also sand off the existing primer on the new panels.
Since this is a long-term project we need to prevent rust. Two coats of epoxy primer are applied. This will protect the surface while work progresses.
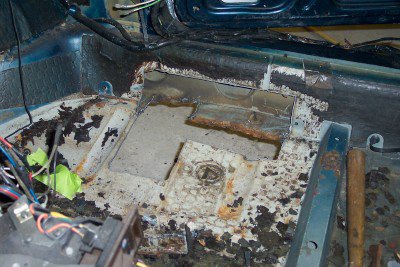
The next steps will be repairing damage to the floor pans (caused mostly by improper jack placement), addressing rust at the leading edge of the hood and installing a reproduction front valance panel.


The right side wheel arch was the first area to be repaired. I started by annealing a piece of aluminum. This process leaves the metal ‘dead-soft’ and relatively easy to work. The 90 degree lip of the wheel opening is formed first since this is the most extreme bend. This operation was performed on the bead-roller with some help from the stretcher. The rest of the shape is made with the shot bag, hammers and a bit of e-wheel work.
When the piece has the proper shape I file the edges nice and straight. A curved tooth body file works well here. Lines are scribed on the existing fender and cuts are made to the inside of the marks. I’ll file the opening to size so that I have a very narrow kerf. This makes welding much easier and results in an all around better job.
After TIG welding the repair panel into place the weld beads are dressed down so that the thickness of the weld is similar to the sheet metal. Now the fender can be straightened and metal-worked.